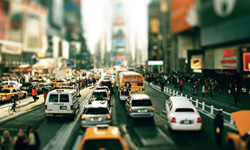
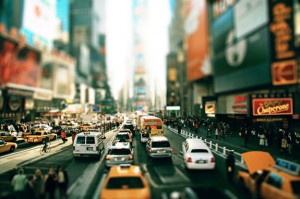
 With a very little effort, you can take existing photographs of everyday scenes and make it look like they’re actually of miniature models. We’re used to seeing models from above, so the mind can more easily be fooled by pictures taken looking down than those looking up or at eye level. So let’s start!
Before you start, you may also like to read our previous Photoshop tutorials:
- Create a Tough Metal Text with Photoshop
- Handy Techniques for Cutting out Hair in Photoshop
- Quick Way to Apply Your Photos a Retro Comic Book Effect
- How to Create a Simple and Elegant Text Effect
- How to Give a Cool Retro Analog Effect to Your Photos
Fake Model Photography Photoshop Tutorial
Step 1
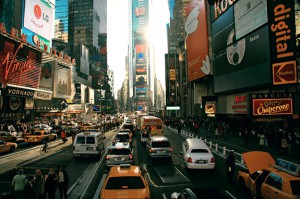
In this step we are setting gradient mask. First open your image in Photoshop, press Q to switch to Quick Mask mode, then click on the Gradient tool. After that set the colors to the default black and white by pressing D, then switch them around by clicking on the double-headed arrow next to the color chips. Then set up the gradient as shown below.

Step 2
Here we are going to apply mask. Choose where you want the focal point of the photo to be – usually about halfway between top and bottom – and click and hold at that point. Drag the line of the gradient tool upwards, then release it towards the top of the frame; it doesn’t hurt to be a little off the pure vertical. You should get something like what’s shown above. Press Q again to switch back from Quick Mask mode.
Step 3
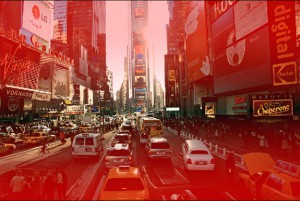
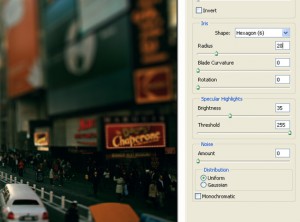
Into this step we need to apply lens blur. For that, chose Filter>Blur>Lens Blur. It can take a little tinkering to get the settings just right, but try the above values as a starting place.
The Iris section controls the shape of the virtual iris in the lens; a hexagonal iris is most normal, and you could try rounding out the sharp corners of the geometric shape using Blade Curvature. Rotation controls the angle of the hexagon. The Specular Highlights section adds little glints to bright areas, but it’s usually not a good idea to drop the value of the Threshold much below 250. Click OK to apply the effect, then clear your selection.
Final Step
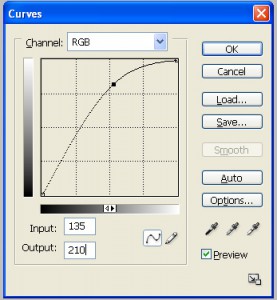
Now use Curve palette. For that go to Image>Adjustments>Curves and drag the RGB curve just like shape below. It blows out the colors in the image, and makes it look more as if it’s built from polystyrene and lichen. And we’ve done.
Final Result

Thanks for sharing such a very useful Photoshop tutorial. Keep sharing more…
owwww, it’s really simple but cool