 In this tutorial I’ll show you how to create an elegant text effect in only 13 steps. We will use Illustrator to realize the outlined text. Then we will use blending options to create the pressed effect. This style would be perfect for a site tagline or a poster design. So let’s start!
- Magical Lighting Effect in Photoshop
- Create an Explosive Flaming Poker Card in Photoshop
- How to Give a Cool Retro Analog Effect to Your Photos
You can download font used in this Photoshop tutorial – Creampuff font
Step 1
If you view the final result, you can notice that it’s composed by 2 elements: the text and the outline shape. The easiest way to create a text and its outline is with Illustrator. So create a 2000×1500 pixels document in Illustrator and write something using the Creampuff font. The font size is 280 pt.

Step 2
We have to turn the text into a path. Then go to Type>Create Outlines. With the text still selected go to Object>Path>Offset Path and enter a value of 25 px.

Step 3
Use the direct selection tool (A) to select only the outline letters. Merge them using the pathfinder (Window>Pathfinder). If you want to select more then one element, hold down shift while clicking on each element.
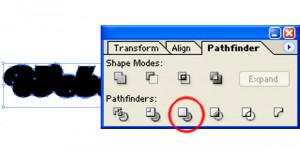
Step 4
Hide the offset path (uncheck its layer visibility) and select the letters with the direct selection tool (A). Group them (CTRL+G) and change their color to differentiate them from the outline path. It’s not important the color you choose. Now you can replace outline shape visibility.
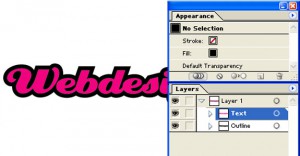
Step 5
Open Photoshop and create a 2000×1500 pixels document. Fill the background with grey.(#3f3f3f)

Step 6
Copy and paste the text and the outline path in 2 different layers. Make sure to paste them as smart objects. In this way they can be resized without lose image quality.

Step 7
Now work on outline shape, and then hide the text for the moment. Right-click on the outline layer and select Blending Options. As well decrease the fill opacity to 0%.
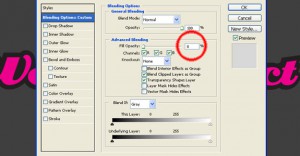
Step 8
Fill a dark grey (#242424) color overlay.
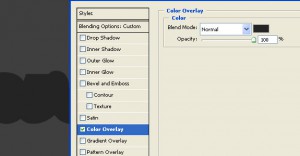
Step 9
Now, by adding inner shadow create the pressed effect.
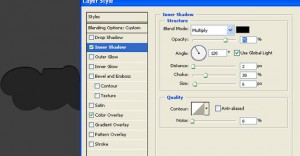
Step 10
At this step you can make the text visible. We will still work with blending options. Start reducing fill opacity to 0%. Then fill the text with the same background color (#3f3f3f).
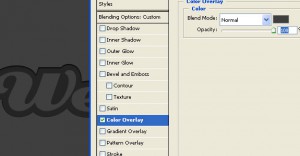
Step 11
Add a bevel and emboss effect.
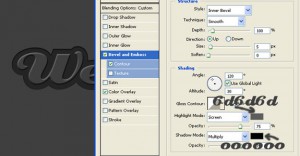
Step 12
We have completed text here. The last step included adding a noise effect. Create a new layer and fill it with grey (#3f3f3f). Now put the same grey as foreground color and white as background color. Go to Filter>Noise>Add Noise.
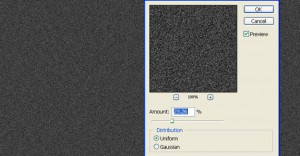
Last Step
Set the layer blending mode to screen with opacity 10%. Yes, we’ve finished!

Download PSD file – Elegant Text Effect